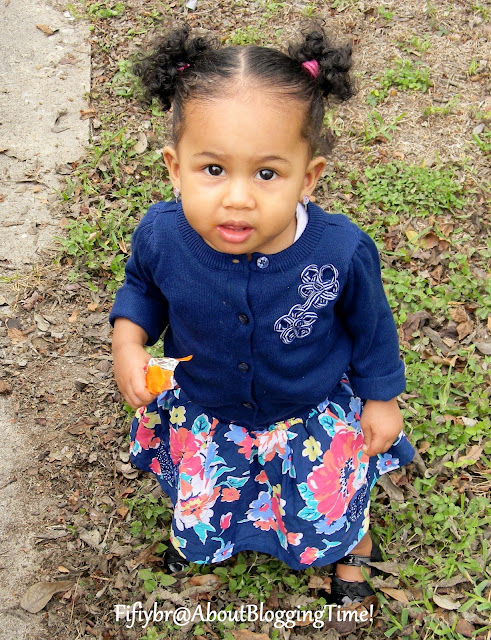
Here is a tutorial for the Pillowcase dress....technically I used bandanas! So, I guess you can say Bandana Dress....whatever! lol! It's super easy to make....once you make one you can't stop! These are not the greatest pics.....there was just too much natural light coming in through the window.
I washed all the bandanas and pressed them.
 |
| 2 bandanas and a yard of ribbon. |
 |
This is why I use bandanas, finished edges.
My sister say's it's cheating, but I told her I didn't have a
serger so it's not cheating, it's working with what you got. |
Put bandanas right sides facing together, you want to align them, you can pin at the bottom and the middle if you want. This will help when you do the folds to iron and sew. (Aligning will let you know how much you need to fold, sometimes the bandana is a little wonky or off a bit.)
 |
Find the tag, this will be the top part of the dress and also a indicator to tell you if this is the inside or
outside of the bandana. On both bandanas make a 1/4 inch fold (towards you), press and sew along existing thread line of just above, also back stitch. The tag will hide inside the second fold. Or you can just cut off.
|
 |
On both bandanas make the second fold (towards you) about 1 inch and sew close to the edge. Make sure you do a back stitch on both ends. The inside will look like it has (2) seams once you've sewn the folds (*see pic below) , while the out side will have (1).
|
 |
| If have labels, tag it! You made it didn't you? |
After you sew up the folds, align bandanas again right sides facing each other, this will help to have a symmetrical dress and make it easier to sew up even sides. *hint folds and tags are on the outside of this bandana sandwich (",)
 |
| I measured down about 4 inches and pinned, you can decide how big you want the arm hole area. |
 |
| Start sewing a 1/4 inch seam from the hem line up to where the arm hole pin is. When you are close to the pin pull it out and sew a small curve out then back stitch, like the picture above. |
I didn't add a picture of this but, it's up to you how you want the outside side seam to look. After sewing up the sides, I ironed open the seam, then closed, folded and pressed to one side and sewed up from the hem line again. It just makes it look nicer and makes it a little more durable. Again you don't have to do this. (*I had already given the dress away so no pic)
 |
| Use 1 whole yard of ribbon. Pin one end and push through one side , then the other. |
 |
| Once ribbon is through , align tails and tie a bow. Adjust as needed. I even out the tails by cutting just a small piece off, then a quick burn with a lighter so the ribbon won't unravel. |
See, easy peasy!! Let me know when make one, I'd like to see it. If you have any questions leave a comment or shoot me a email.
Pin It


